Good question. Actually, it all started in 1980, after a disastrous holiday in Blackpool. My mother decided that the idea my grandparents have of a holiday is no good. Therefore, one muddy October half-term, we cleared off to Malvern in a tent. After Easter at Llanystumdwy, and a short break at Hereford Racecourse, we spent the summer in Scotland, visiting Moffat and Edinburgh, then finally spent a week in the north-east of England. The camping continued, and in 1983, we got a trailer-tent.
A what? I hear you cry. A trailer-tent. I still hope to put a picture of a trailer tent here soon. My parents had two trailer tents, a Concraft Rancher and a Conway Cruiser dating from the time when that was a trailer tent. I also had a Conway Calypso for a while. There is a related kind of unit called a folding camper – my parents had four of these, two Pennine Aztecs and two Colemans, a Sun Valley and a Williamsburg. I now have the Williamsburg and am getting on with setting it up to my liking. My sister currently has a Dandy, so you can guess we're still at it.
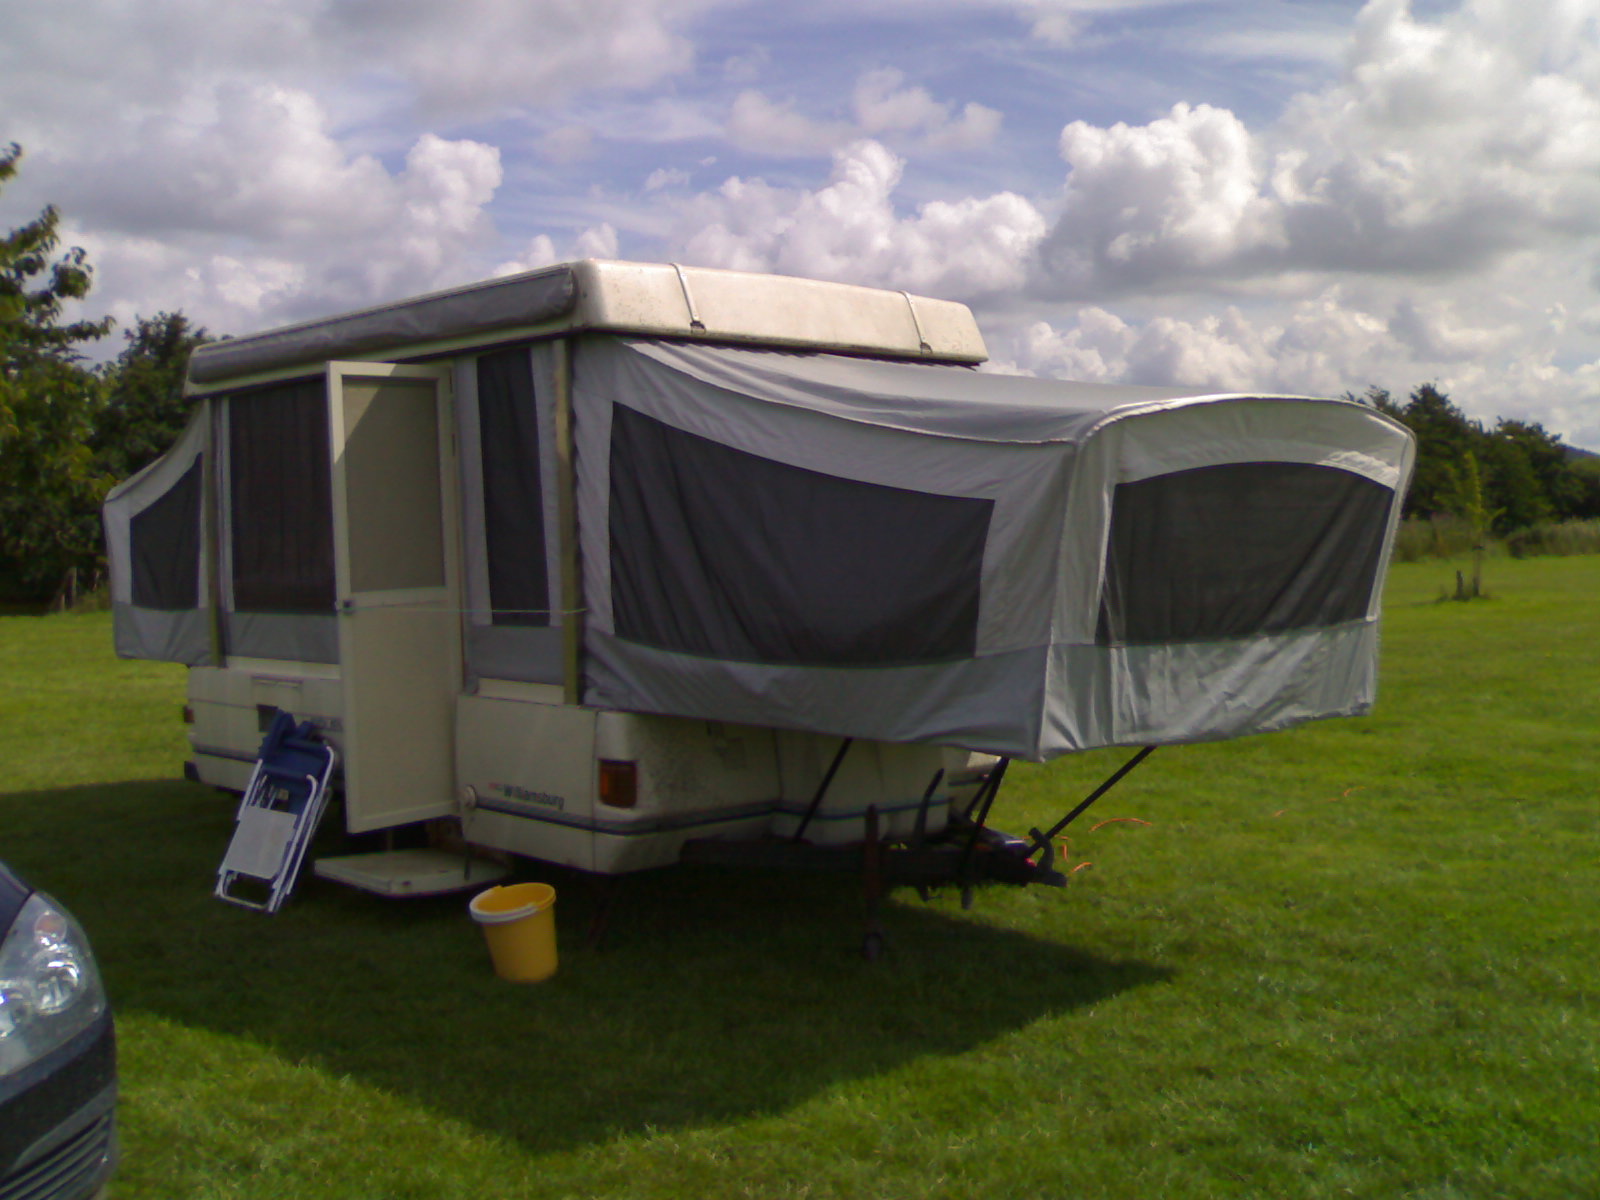
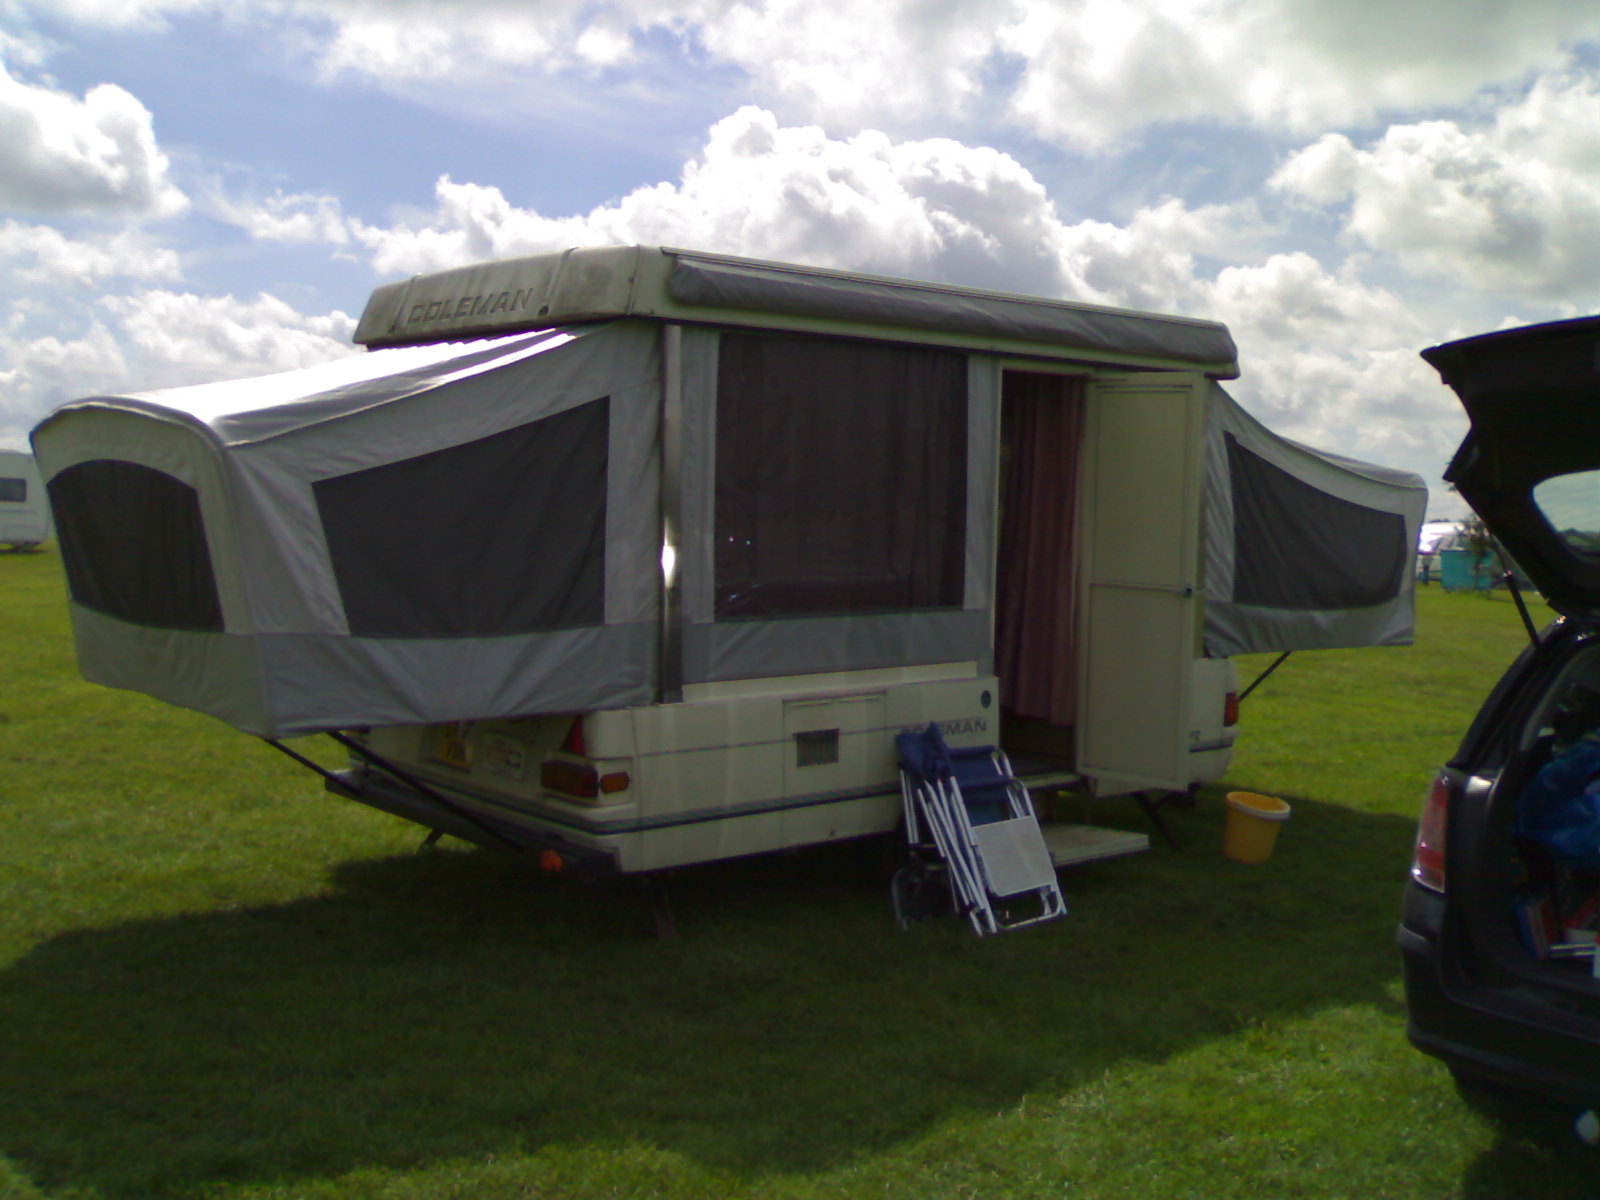
I have been asked by a friend, and I was intending to do this anyway, to show some photos of the Williamsburg. As with all my pictures, you can click them to get the full size versions. Apologies for the blur on some of them – I haven't quite mastered getting rid of the shake on the mobile phone yet.
A couple of views from the front of the unit (as pitched, not towed – the front of the pitched unit is its offside when being towed):
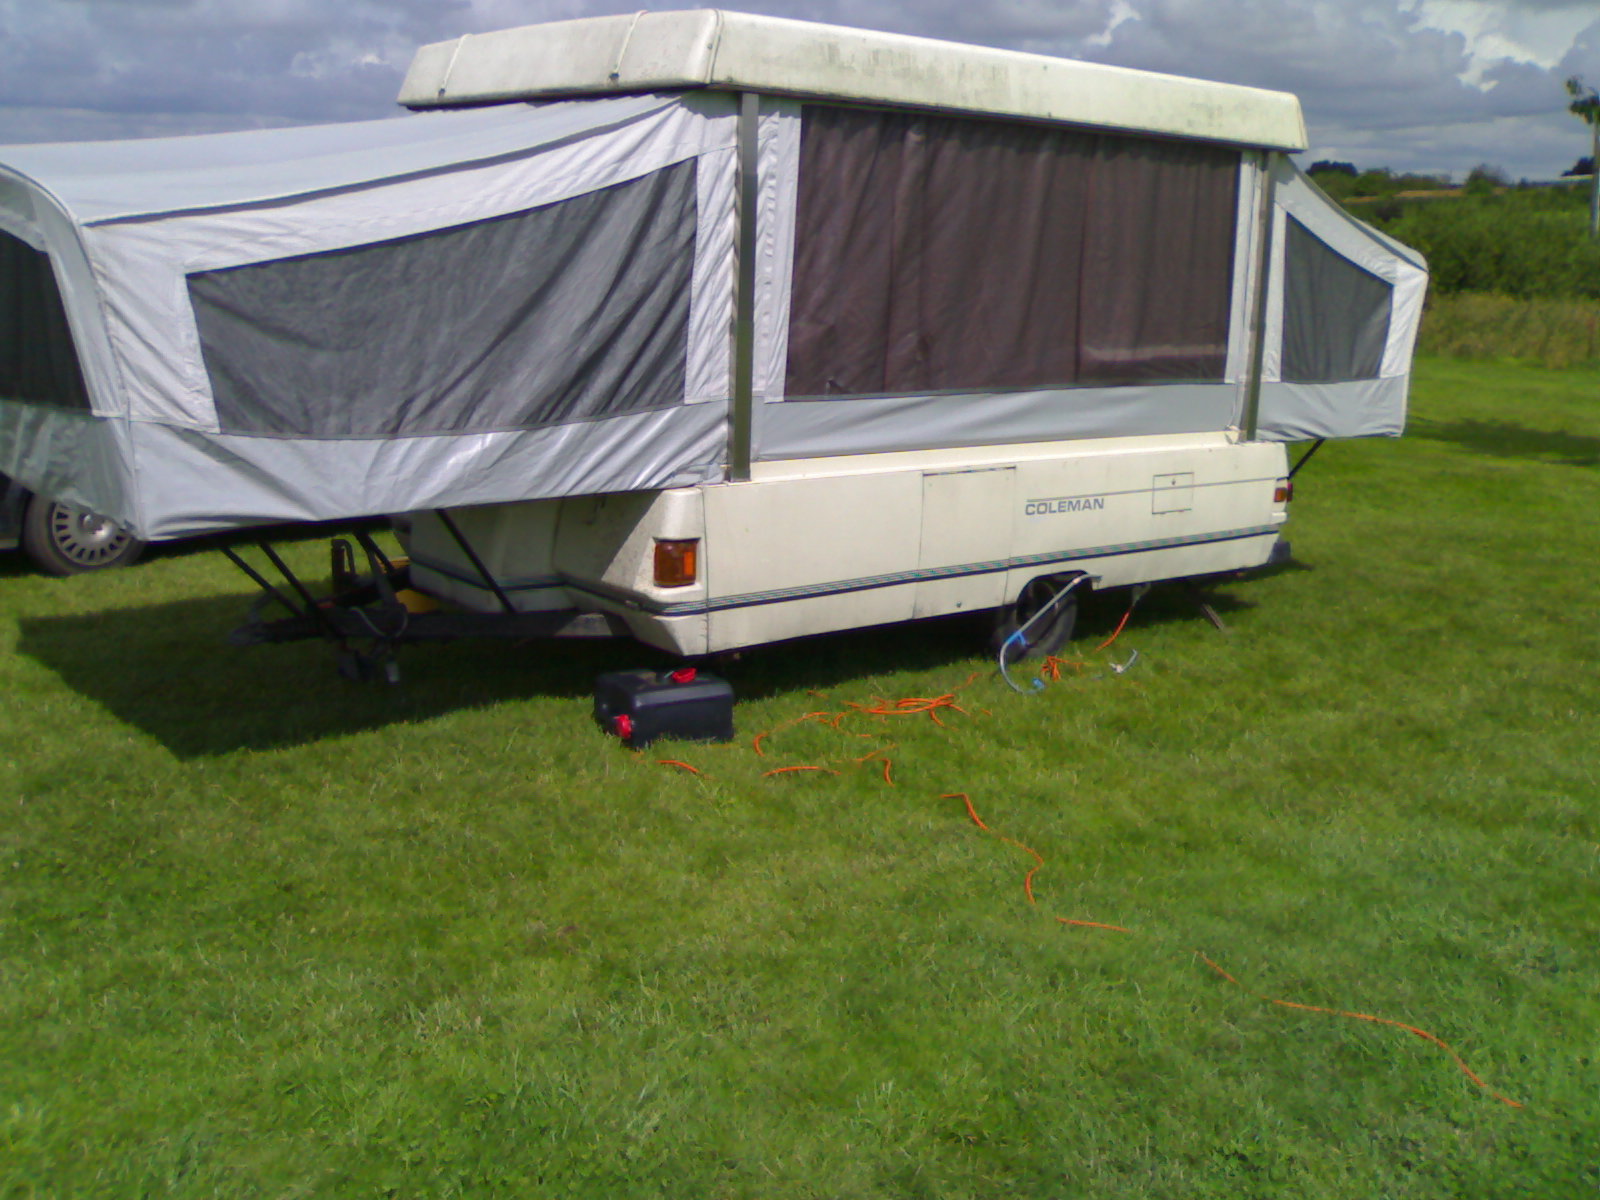
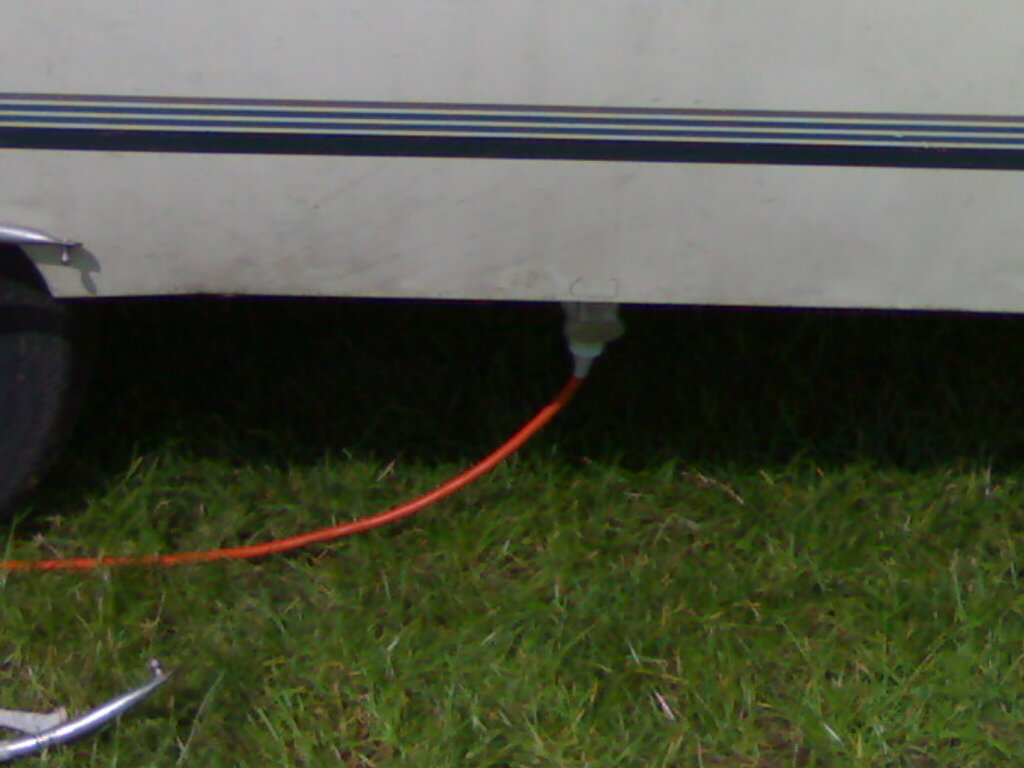
Round
the back (nearside when towed) of the unit, the waste tank which is
used on pitches without a drain can be seen, along with the mains
lead and Aquaroll handle.
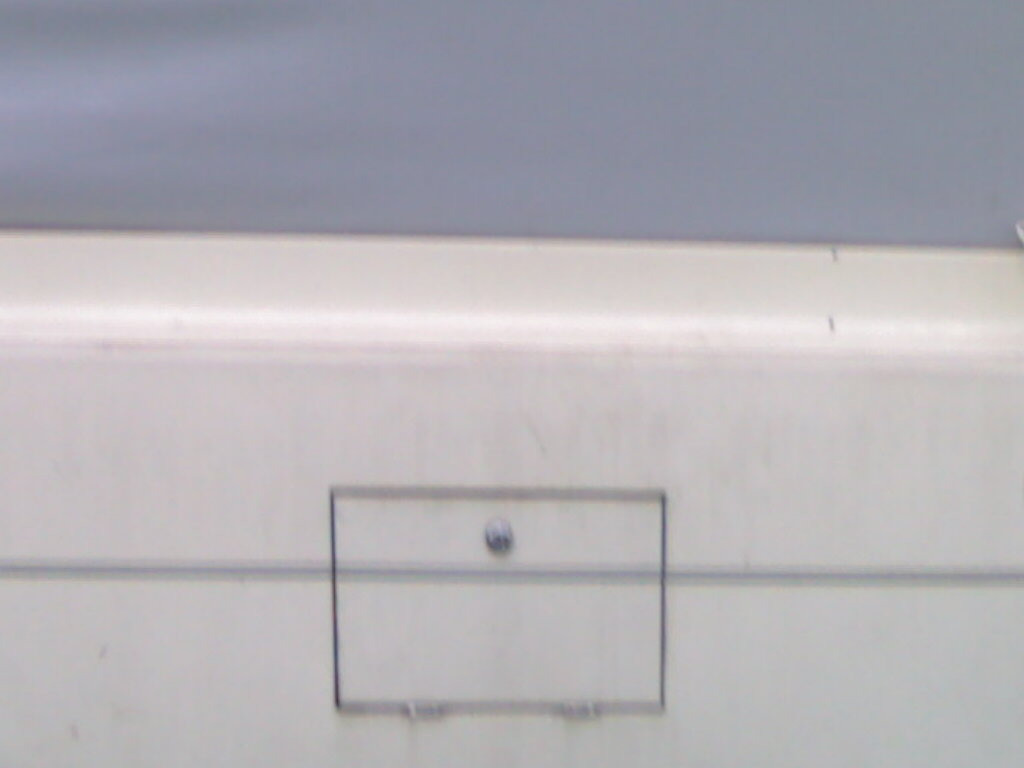
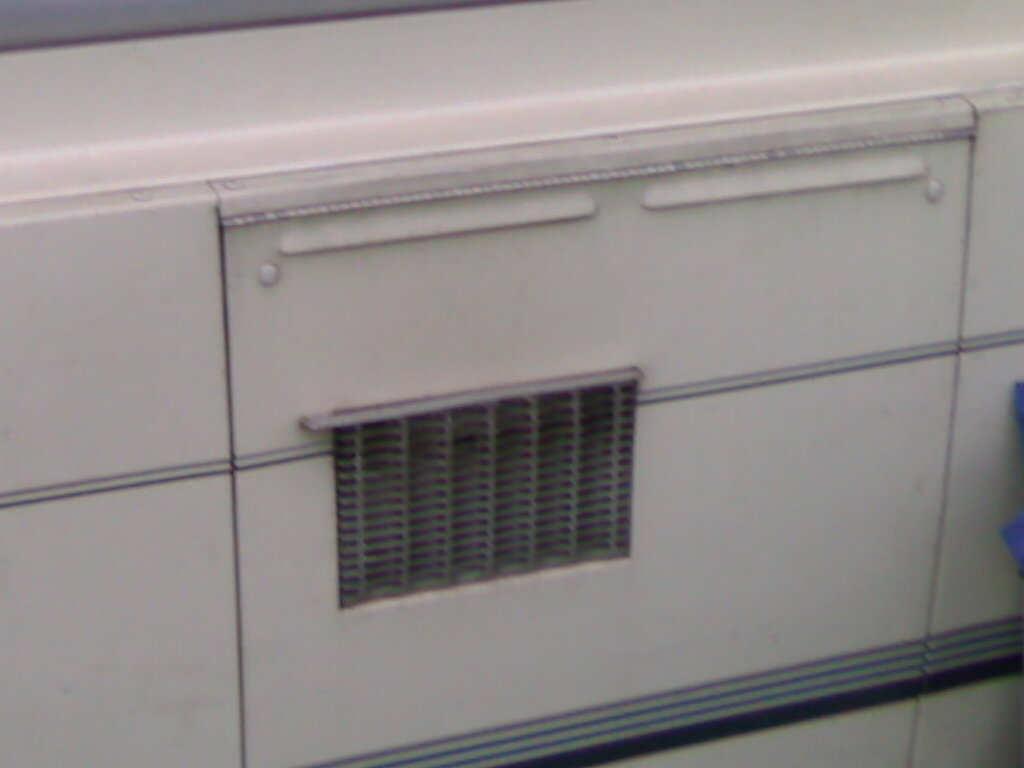
There is a cupboard on the unit which can be accessed from the outside, even with the unit closed. This is the flap. On units with a built-in fridge, it replaces this cupboard, but I don't know of any Colemans with built-in fridges in the UK.
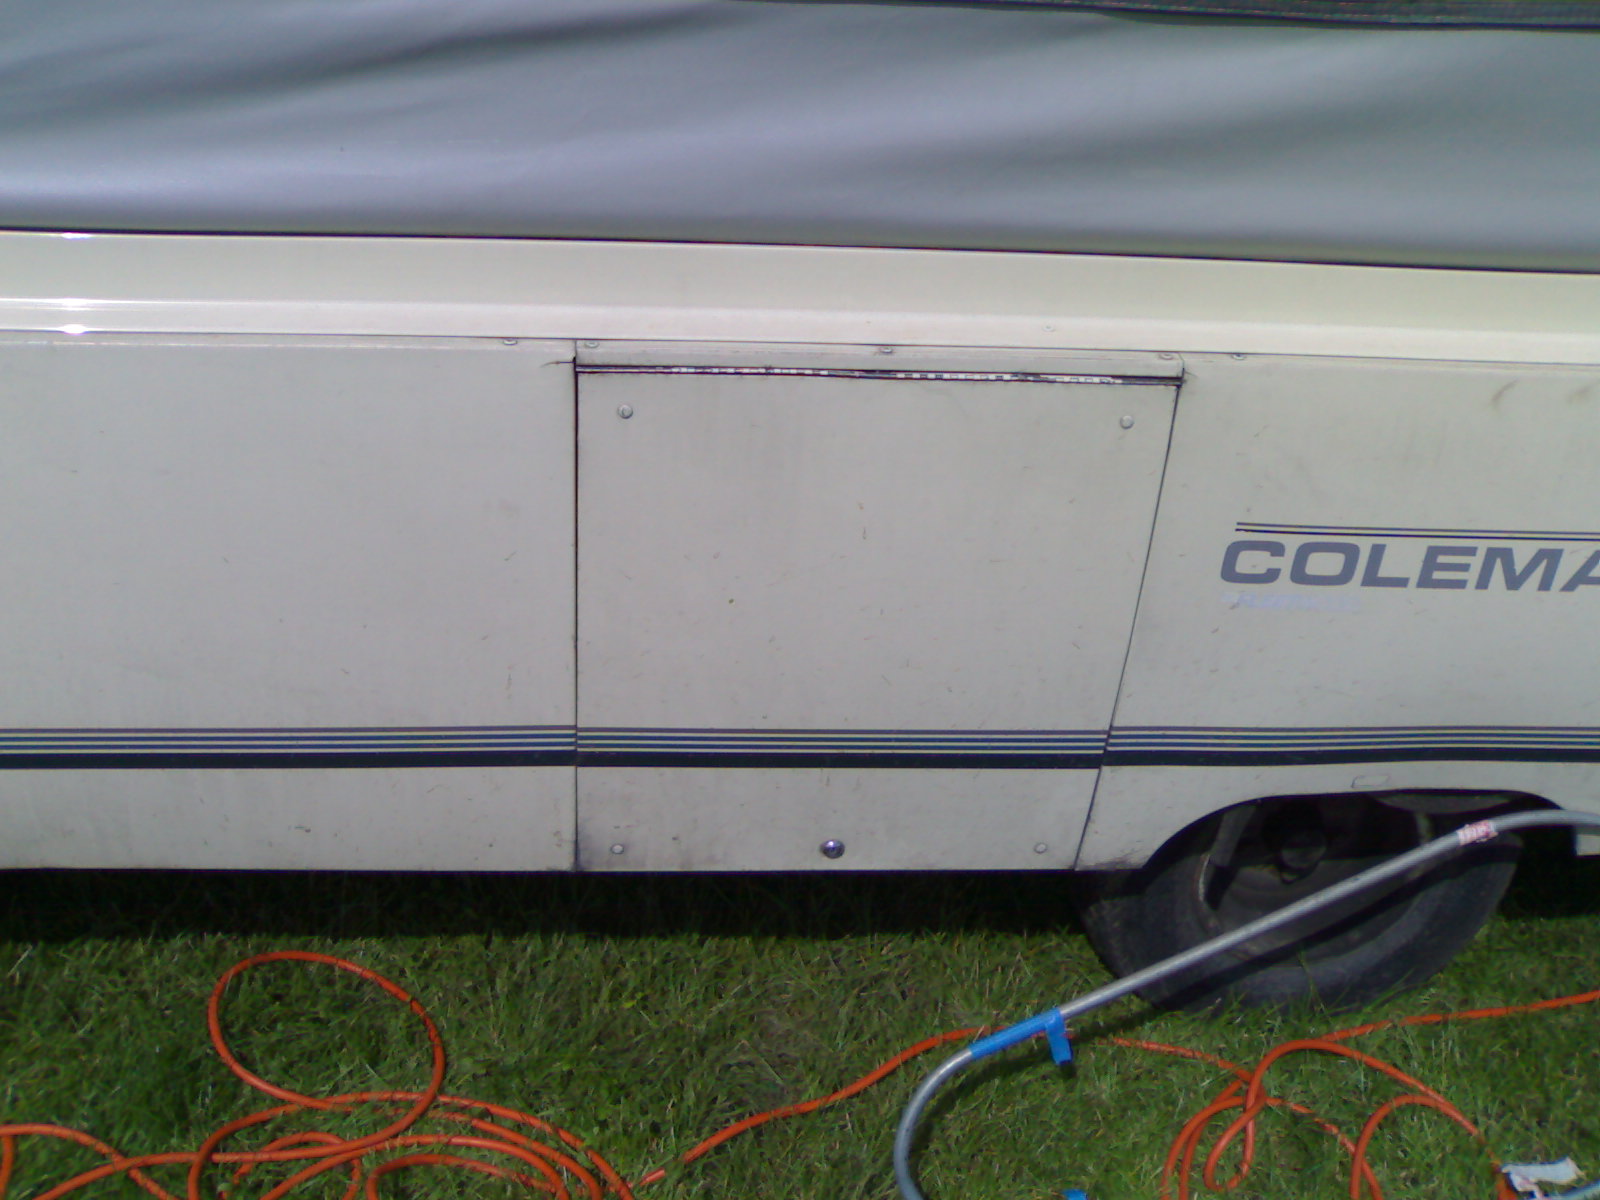
Mains
water can be connected to the unit on suitably equipped pitches, but
if not, it is possible to put water into a tank in the unit. This can
be put in using a portable water pump and a suitable water
transporter, such as an Aquaroll. In either case, the water is
connected or added behind this small flap.
Where
the pitch has mains electricity, we can connect to it - it can supply
all the power needs, for small mains devices and those which are
designed for 12V DC. Where this is not supplied, we can use a battery
or a connection to the car for the 12V DC parts, and if we require a
small amount of 230V AC, we can run a generator, though that can be
noisy.
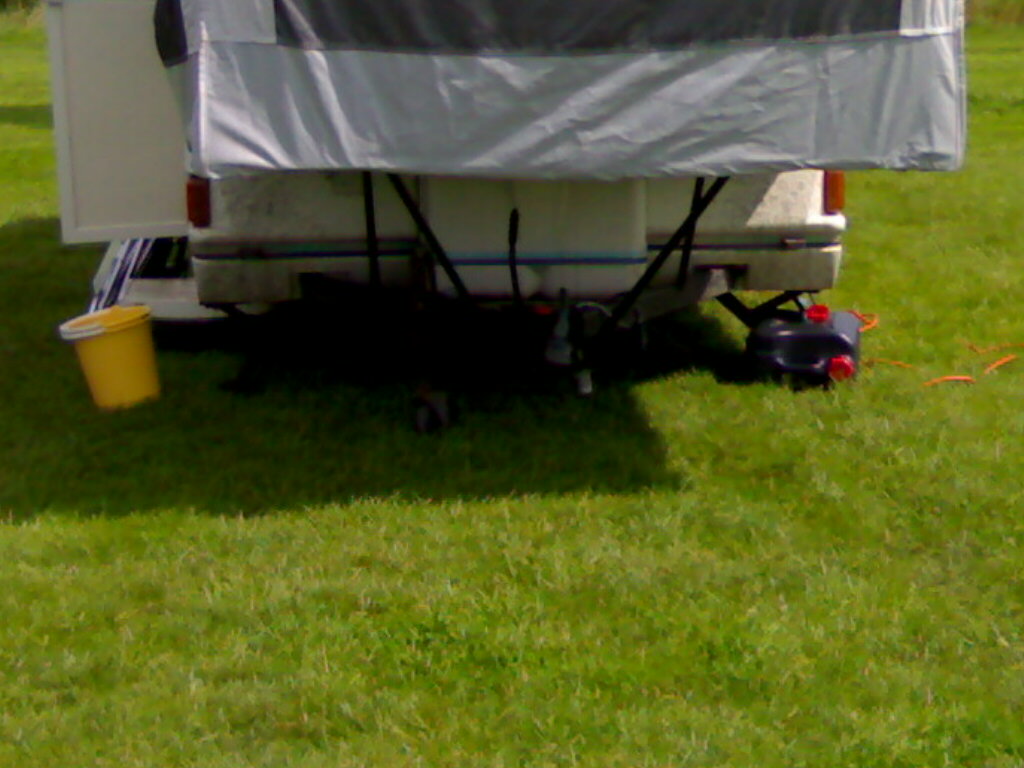
Under
the hitch end is the gas locker - it holds two 3.9 kilogram propane
cylinders. These are used to run the stove, heater and boiler. The
changeover was originally manual but an automatic one has now been
fitted. It is under this end that we connect a battery if we are on a
site with neither mains water to the pitch nor mains electricity.
Without one of these, water will not run from the taps, so connecting
electricity in some form is usually essential.
For
completeness, the space under the spare bed at the back of the unit
is usable on site for storage. However, there is nothing to connect
there - the only feature is the aerial for the built-in radio.
However, this does not merit a photo.
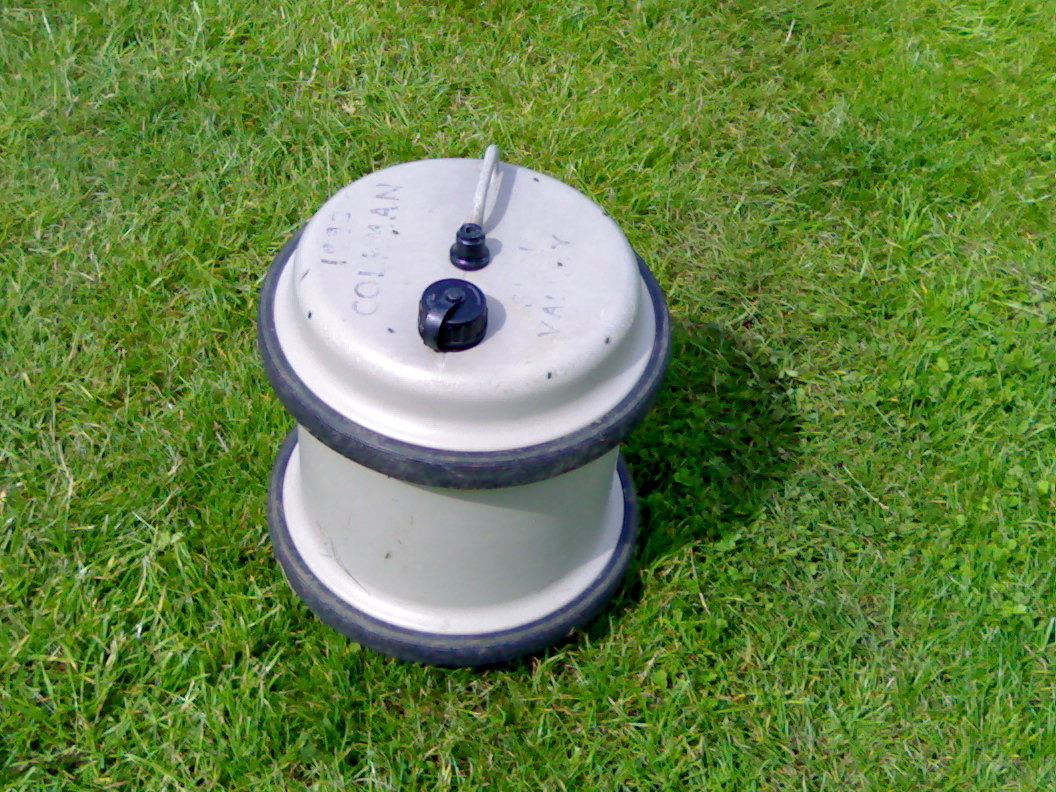
To get water into the unit if we are on a pitch without its own tap, we pump it into the onboard water tank from an Aquaroll, a 29 litre polythene barrel. The handle seen earlier makes it easy to move, as it does not have to be lifted when full. The text on it indicates "1990 COLEMAN SUN VALLEY" - this one came with my parents' previous unit. It is not a standard feature, but this was part of the identifying marks added by its original owner.
As
well as a tank onboard to hold the cold water, on the other side of
the unit is a boiler. This allows, when lit and working properly, the
hot taps on the unit to actually run hot. It depends only on water
and gas - on a pitch with mains water it will work with the
electricity off. The boiler is located behind this door.
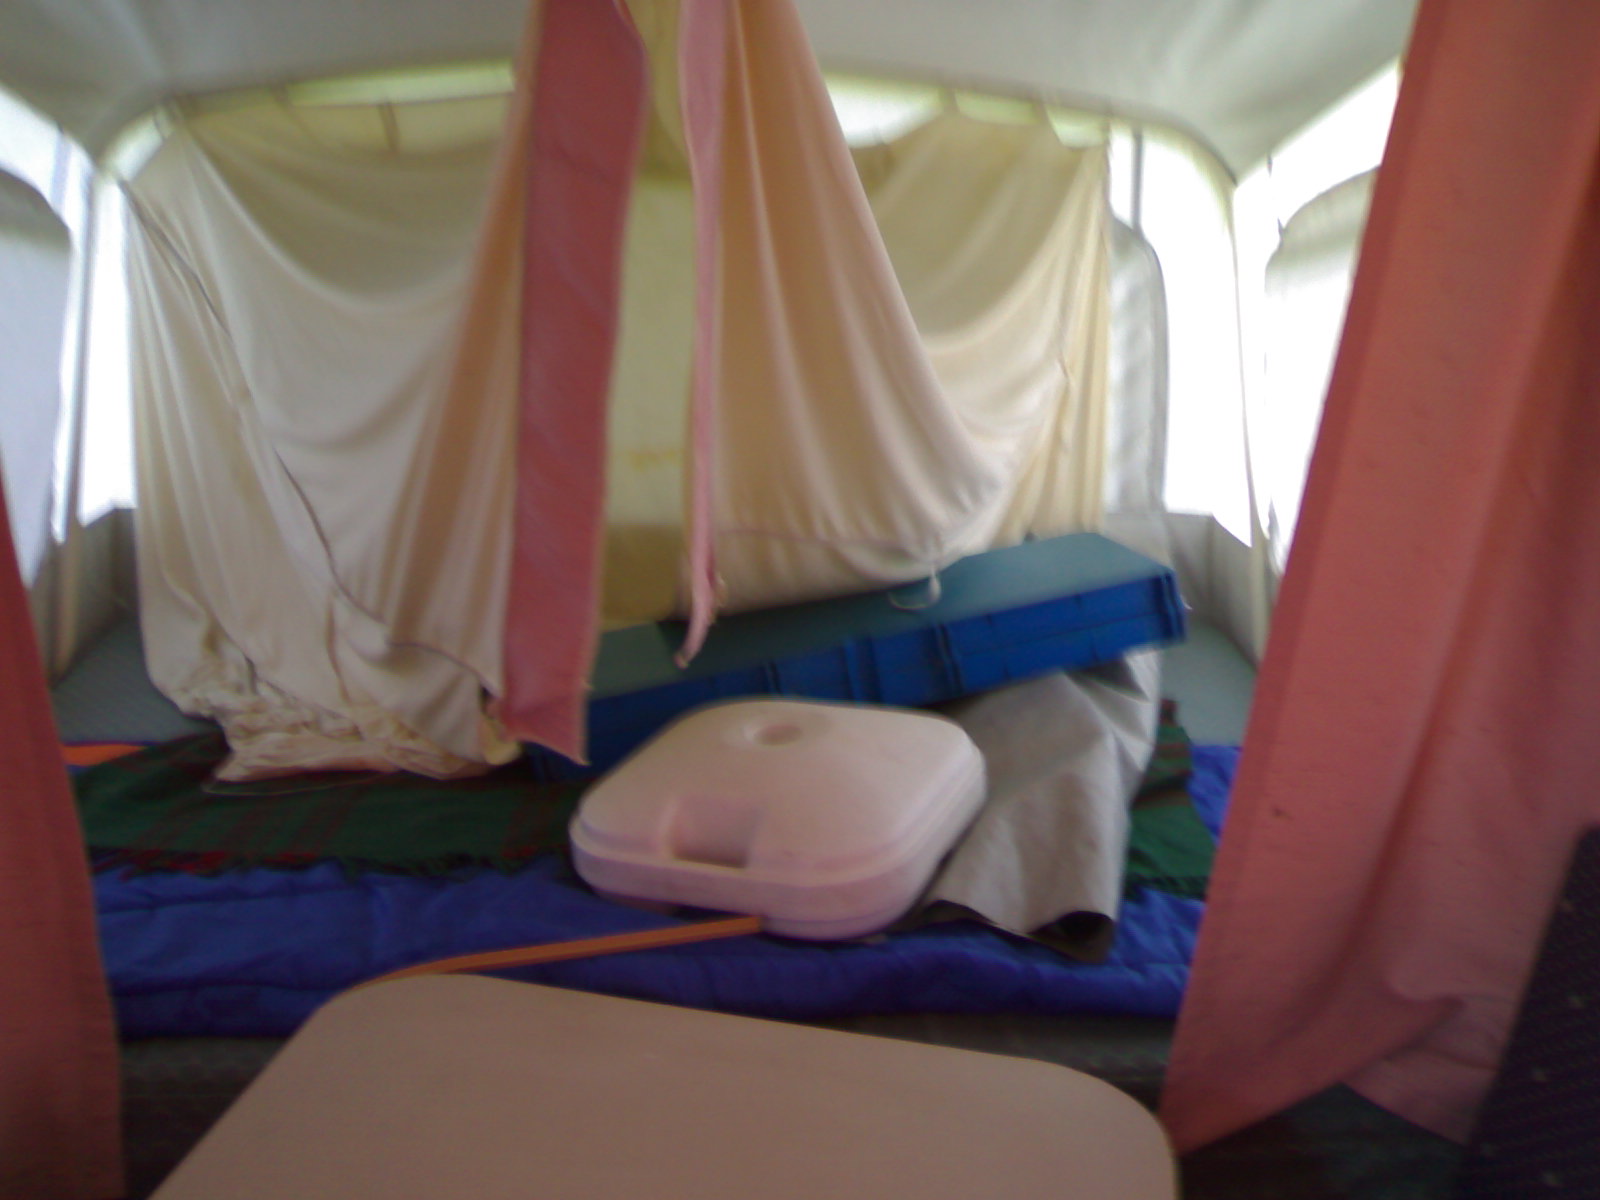
And
so to the inside. The cabin has a queen size bed at one end, and a
double at the other. We use the double to store items - either those
we have not yet found a use for or those which need to be out of the
way during the day. As a result, we do not often put the bed
roof/wall liner in place at this end.
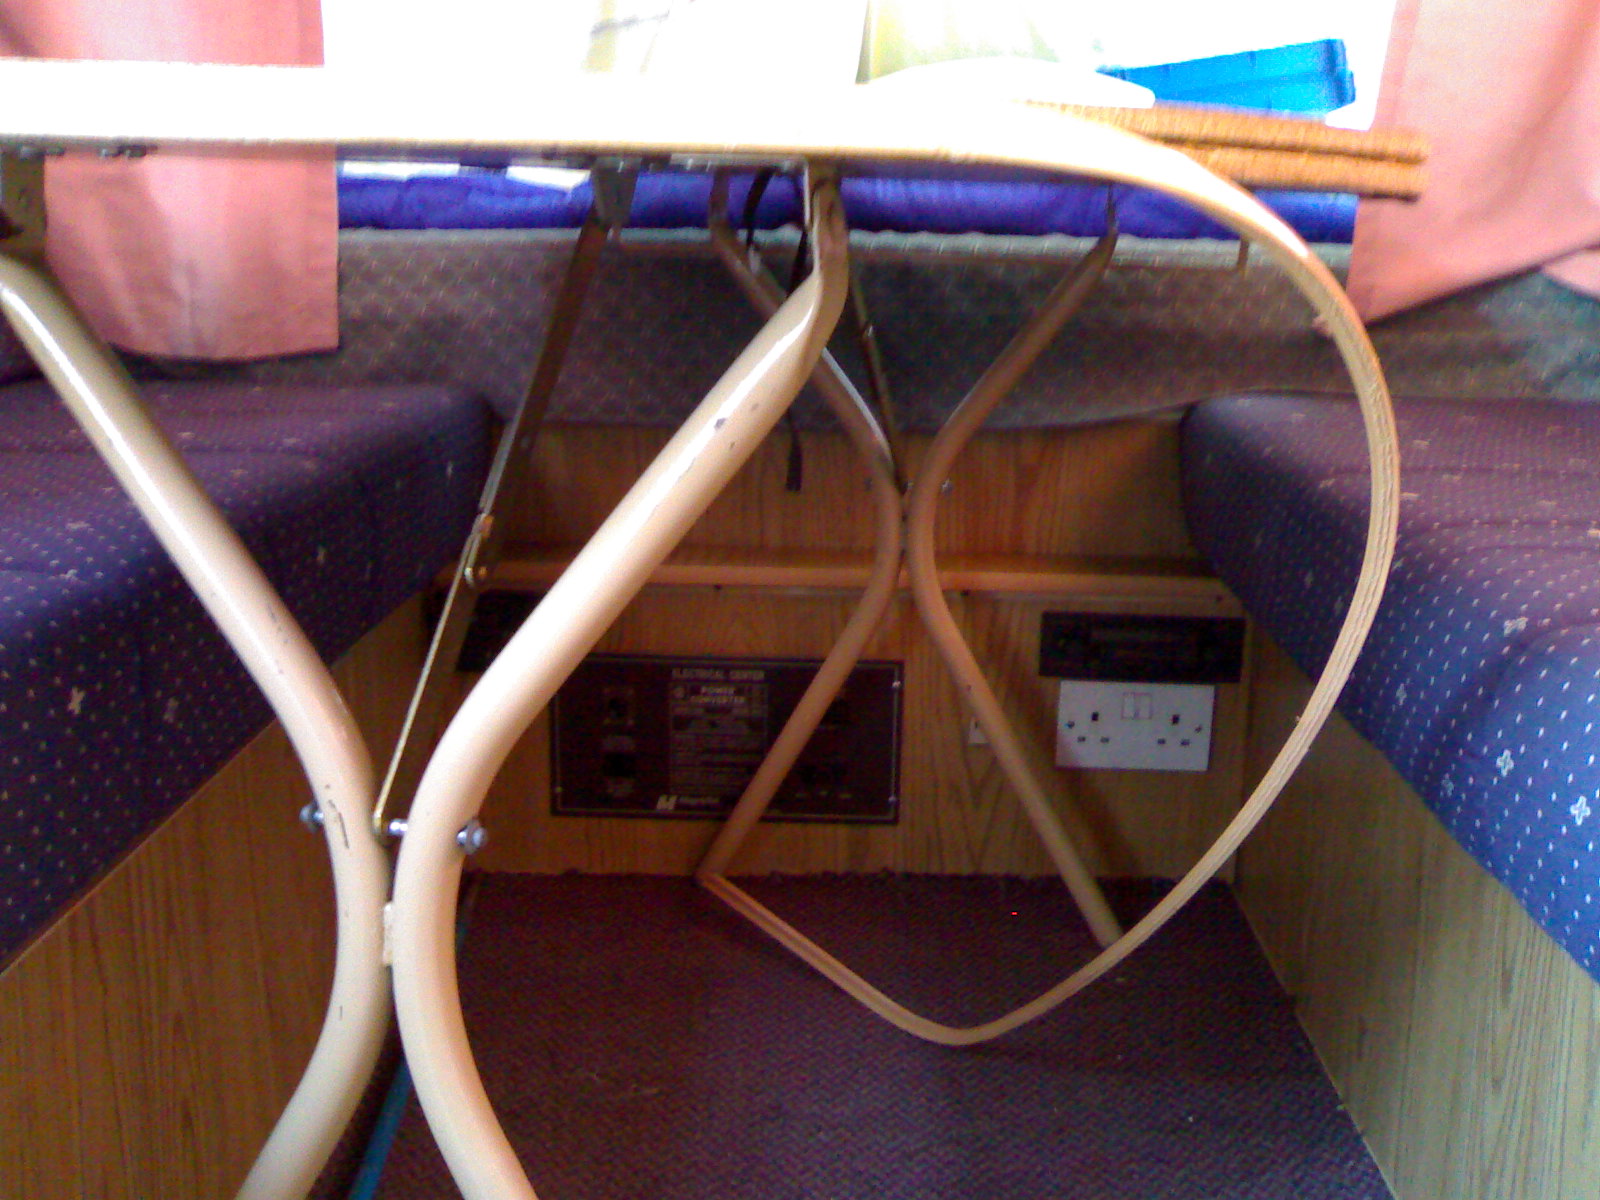
The
middle part consists of a dining area with two bench seats and a
table. Storage is available under the seats but there is less than
might be expected due to the water tank, boiler and heater which are
also fitted in the space. At the time of this photo, the table was in
need of a repair which could not be completed in the time we had
available on site.

The
electrical panel, radio and heater controls are on the end wall under
the table. The electrical panel converts the 230V AC into 12V DC, or
allows us to switch the battery in. The radio does not work well on
mains power at present, but the heater can be difficult to light on
battery power - it uses a spark to light the gas and fans to move the
air around. There are also Type G mains sockets and a 12V 10A socket
there - for plugging in such devices as we may wish to use. The mains
sockets will only work when a 230V AC supply is used, but the 12V
socket works whenever that or a battery is used.
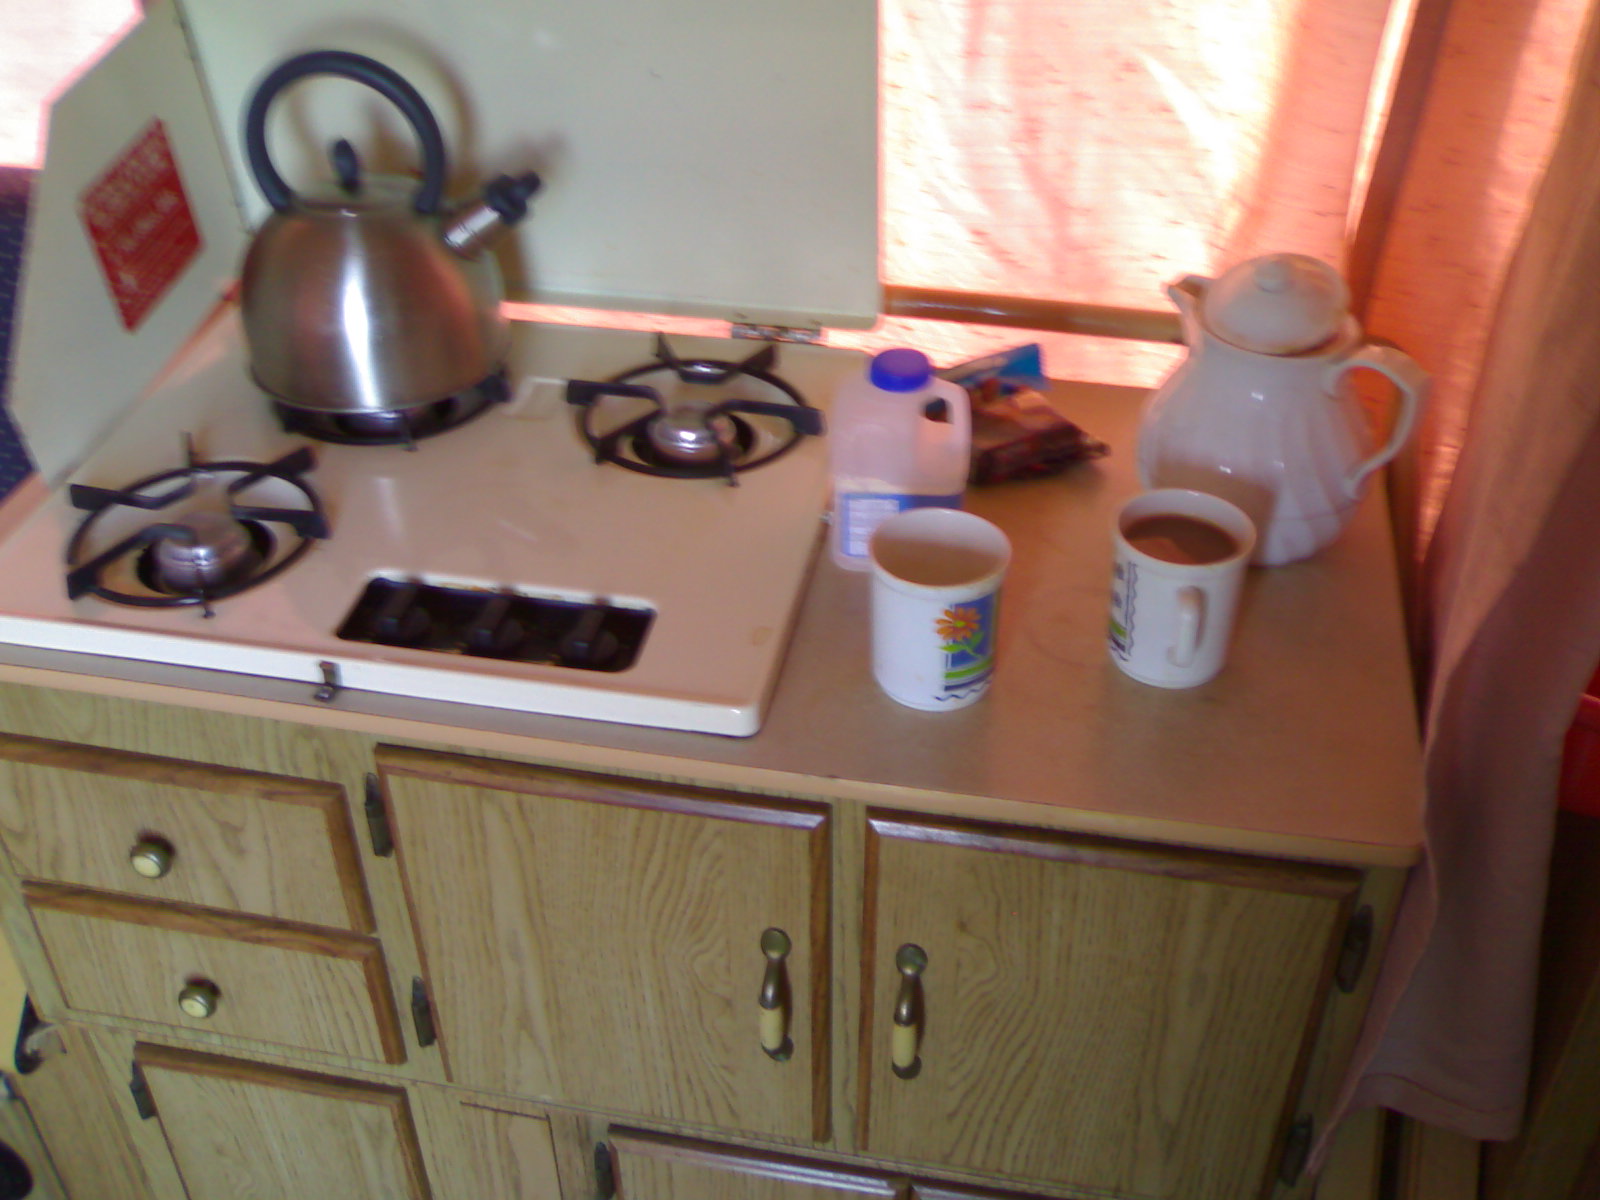
The
kitchen has a three burner stove - no grill but we can get round that
by the use of a stove-top toaster or other cooking methods. Drawers
and a cupboard are mounted below the stove.
...
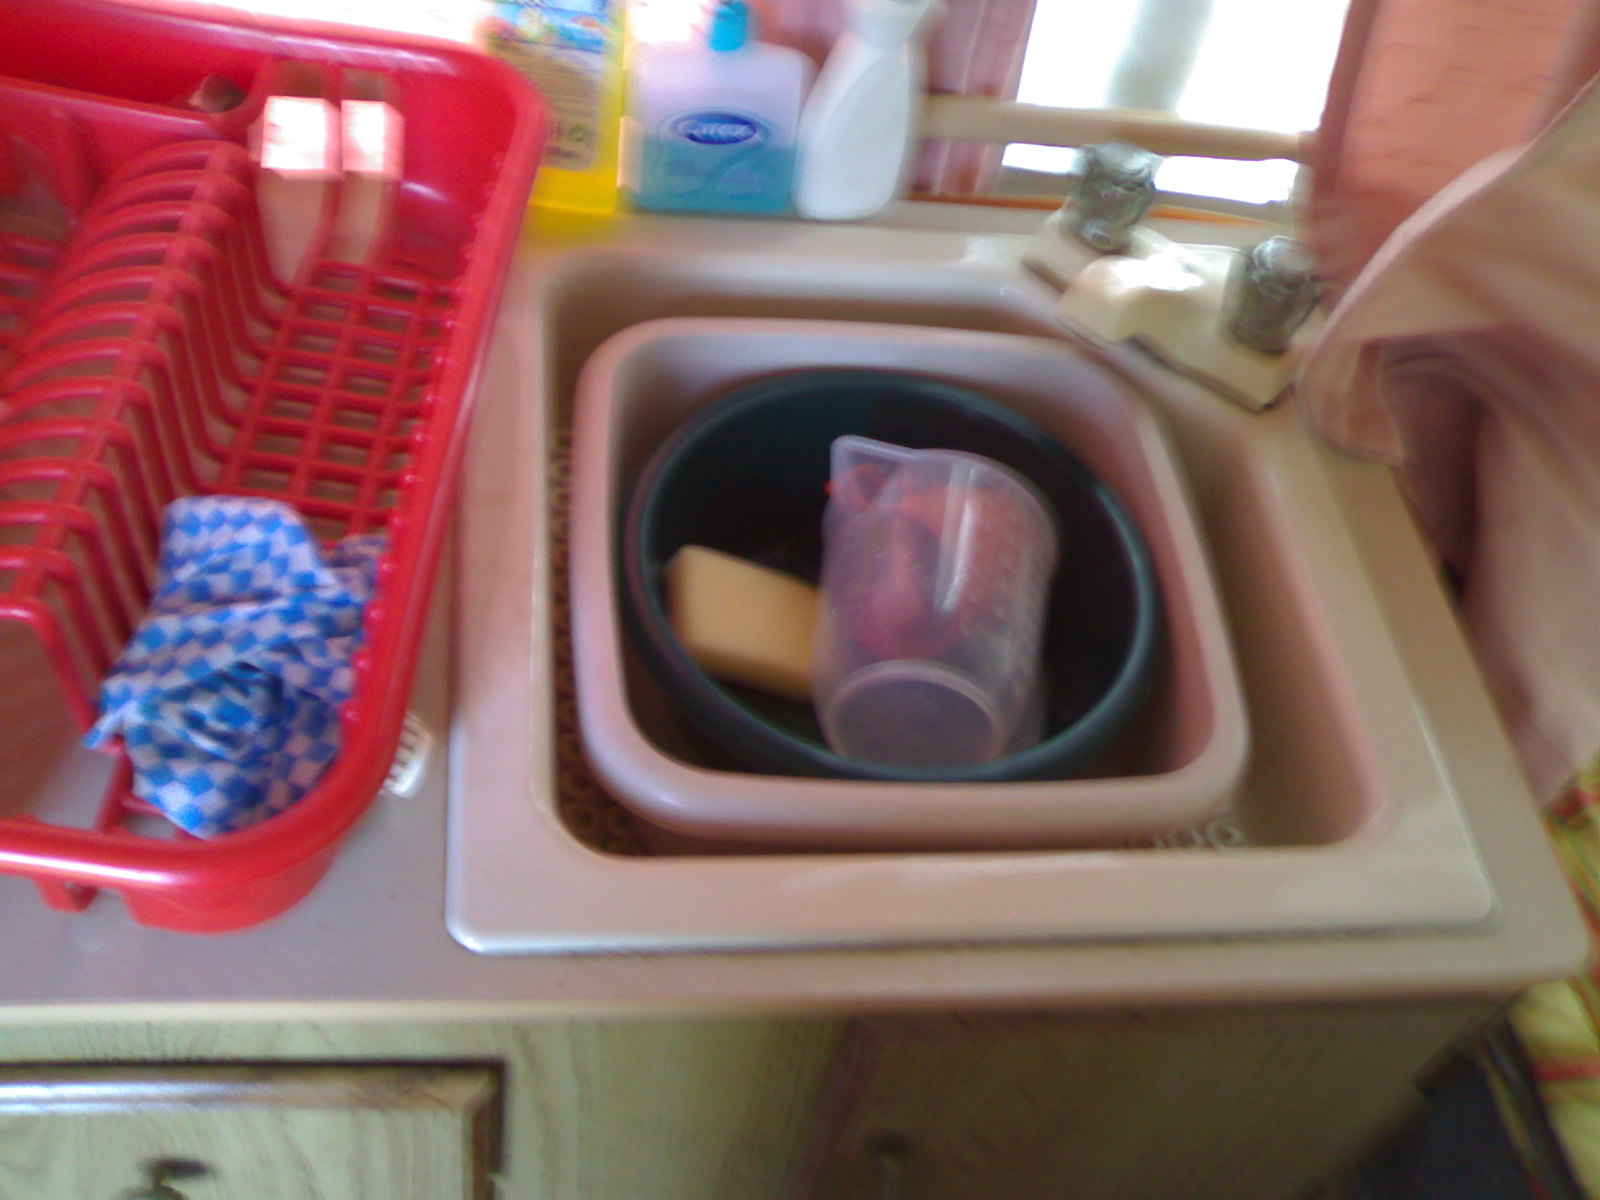
and of course it has a kitchen sink. Running cold (if mains water is
present or the electricity is on) and hot (if the boiler is also lit)
water are available. The sink drains through a fitting under the
trailer, into the tank shown earlier, or on a pitch with its own
drain, a hose directed straight down the drain can be used. It is the
only sink, so is also used as a bathroom sink. We have a mirror/rack
board we can hang above it when needed. Once again, two drawers and a
cupboard complete the unit.
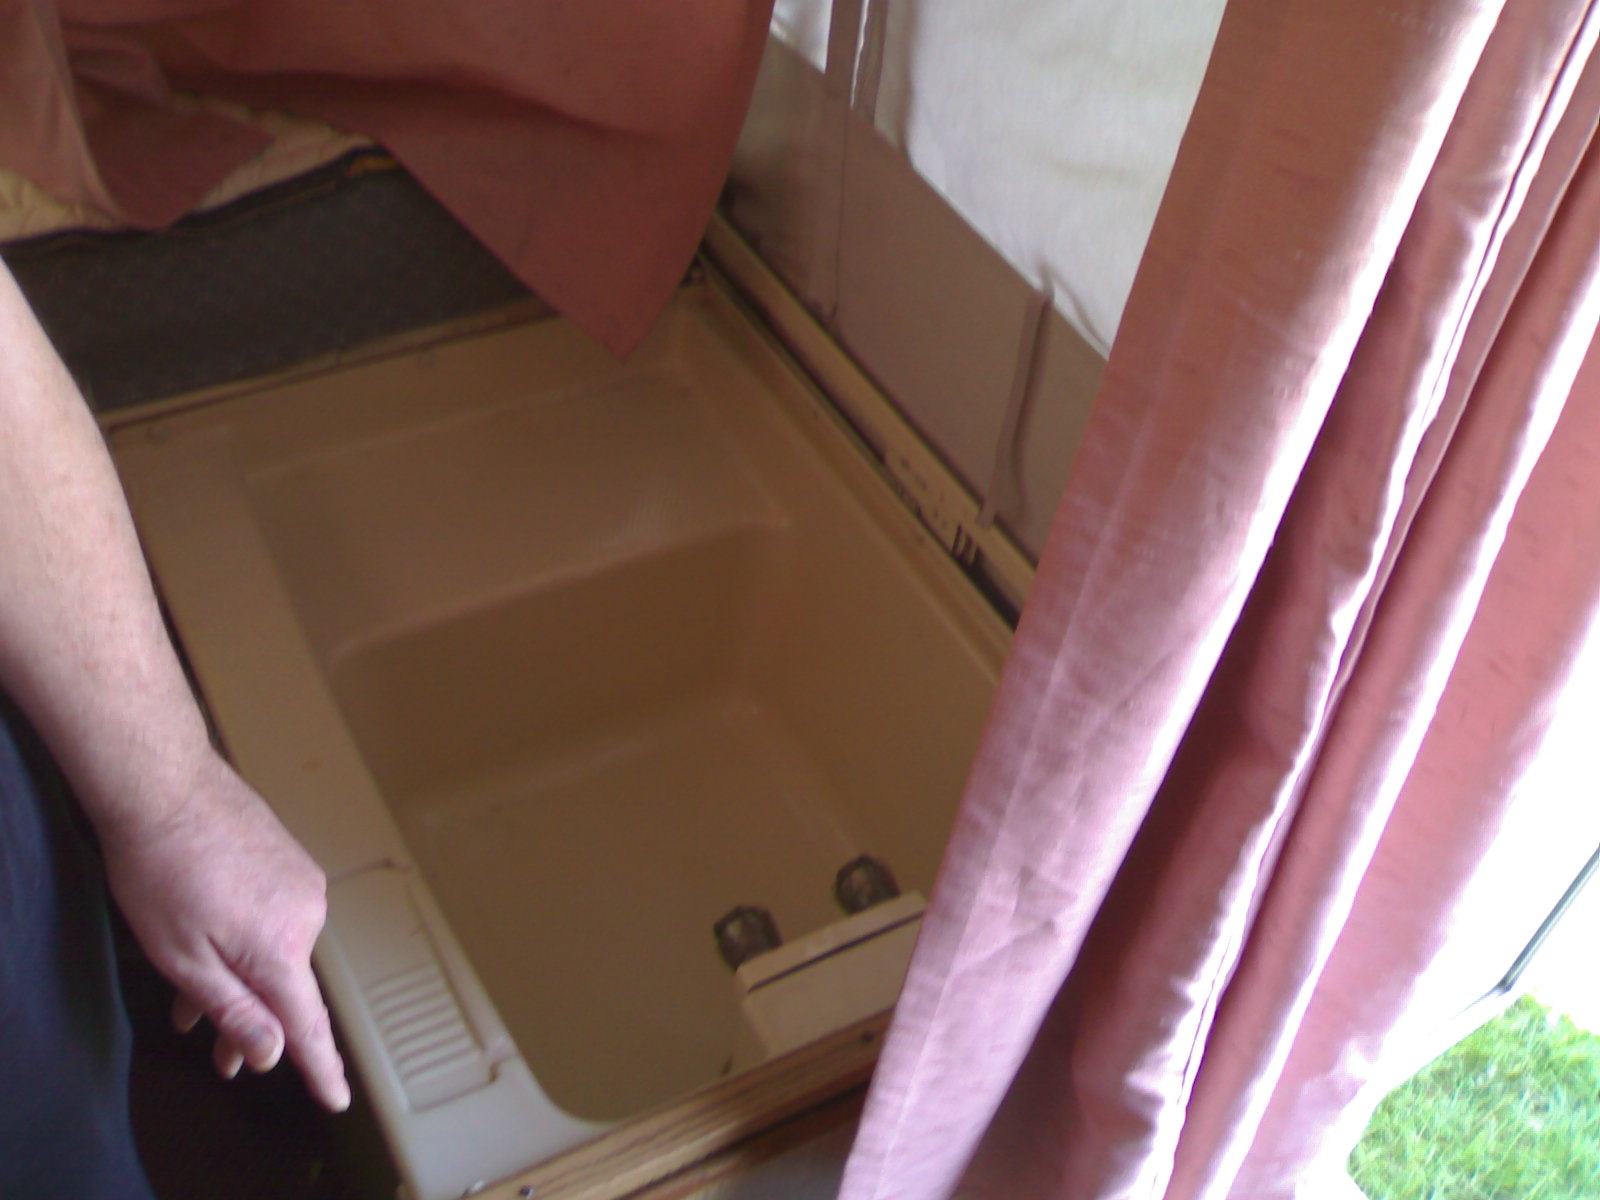
The
unit has a small bath/shower tub as well - once again, running hot
and cold water are available. This drains through an outlet on the
front of the unit. Unless there is a drain at the pitch, someone
needs to be on hand to change the buckets as needed. When not in use,
the tub can have a cushion placed on it, thereby providing an extra
seat. Of course, on a site with suitable facilities, this might not
get used, but on sites not suitably equipped, it is a definite plus
point.
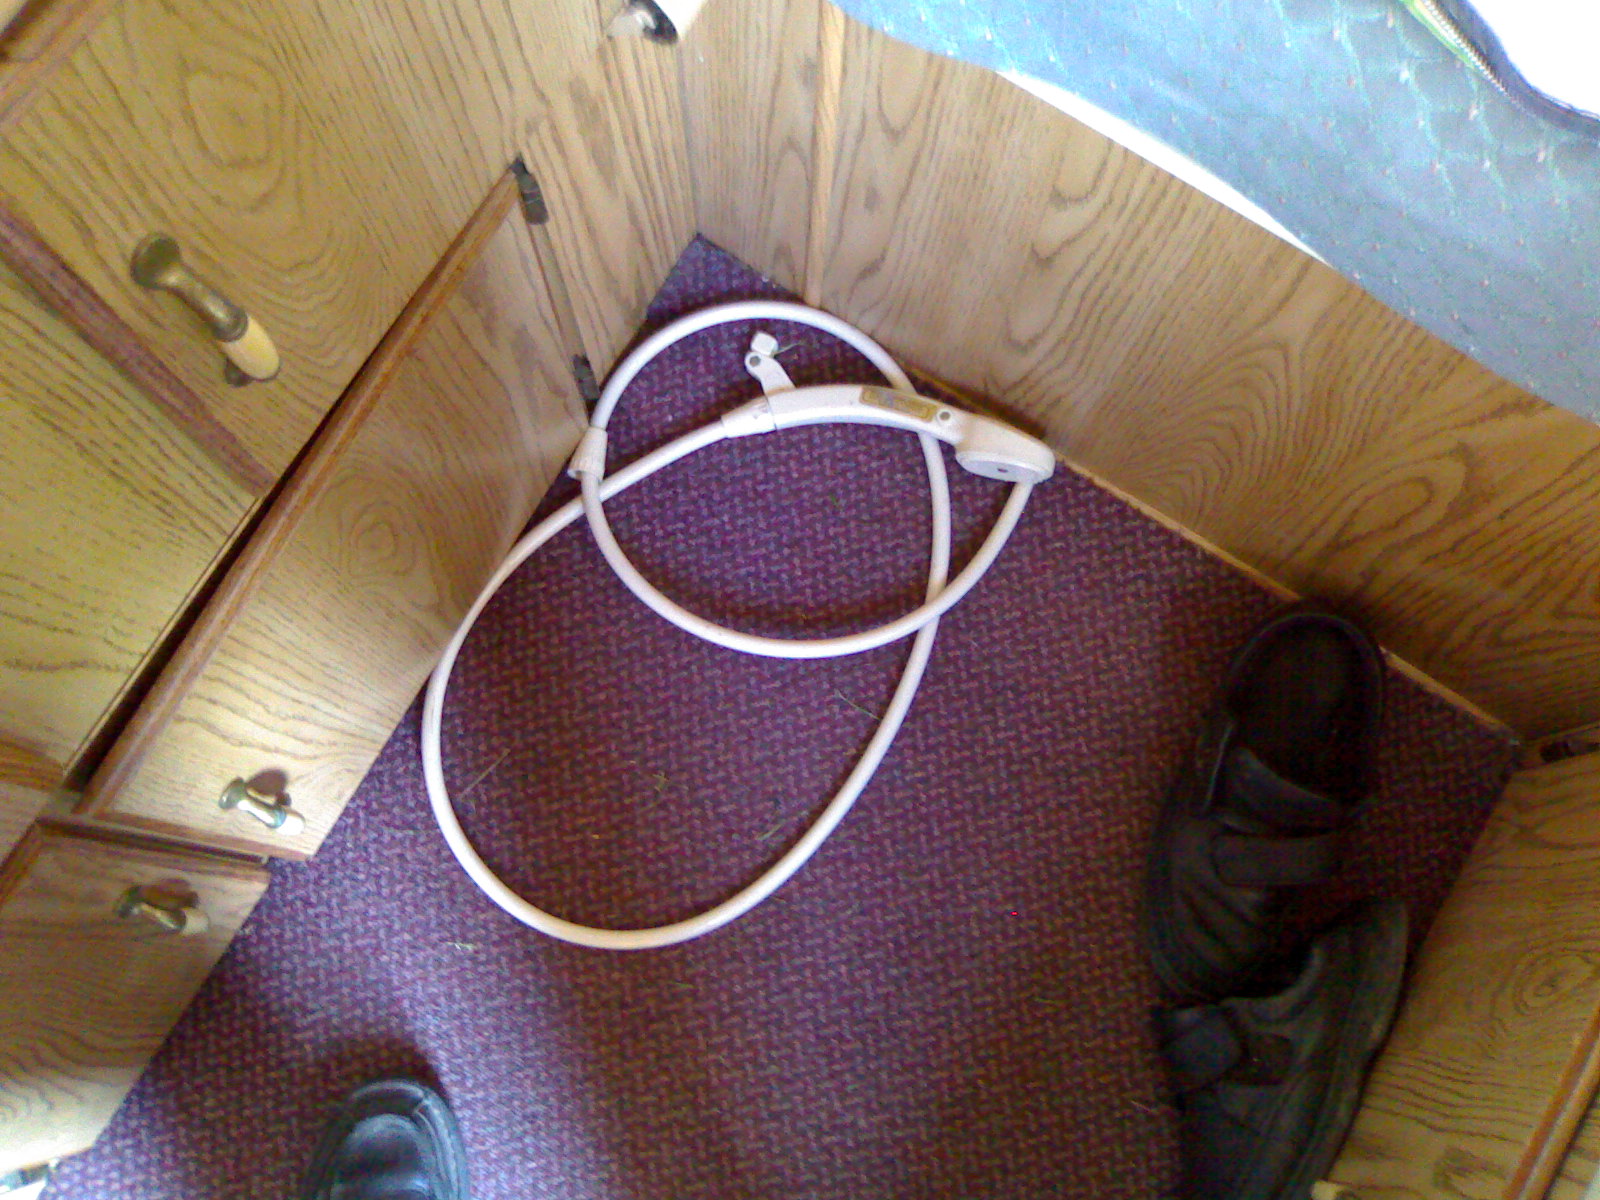
The
showerhead can be hung on this hook, but I find that inconvenient and
would rather hold it. The shower curtain is rolled up - in use, it
would of course be lowered.
The
showerhead screws on to the threaded outlet of the mixer tap in the
bath. There is a flow control button on it, making it possible to
stop the flow and leave the taps on.
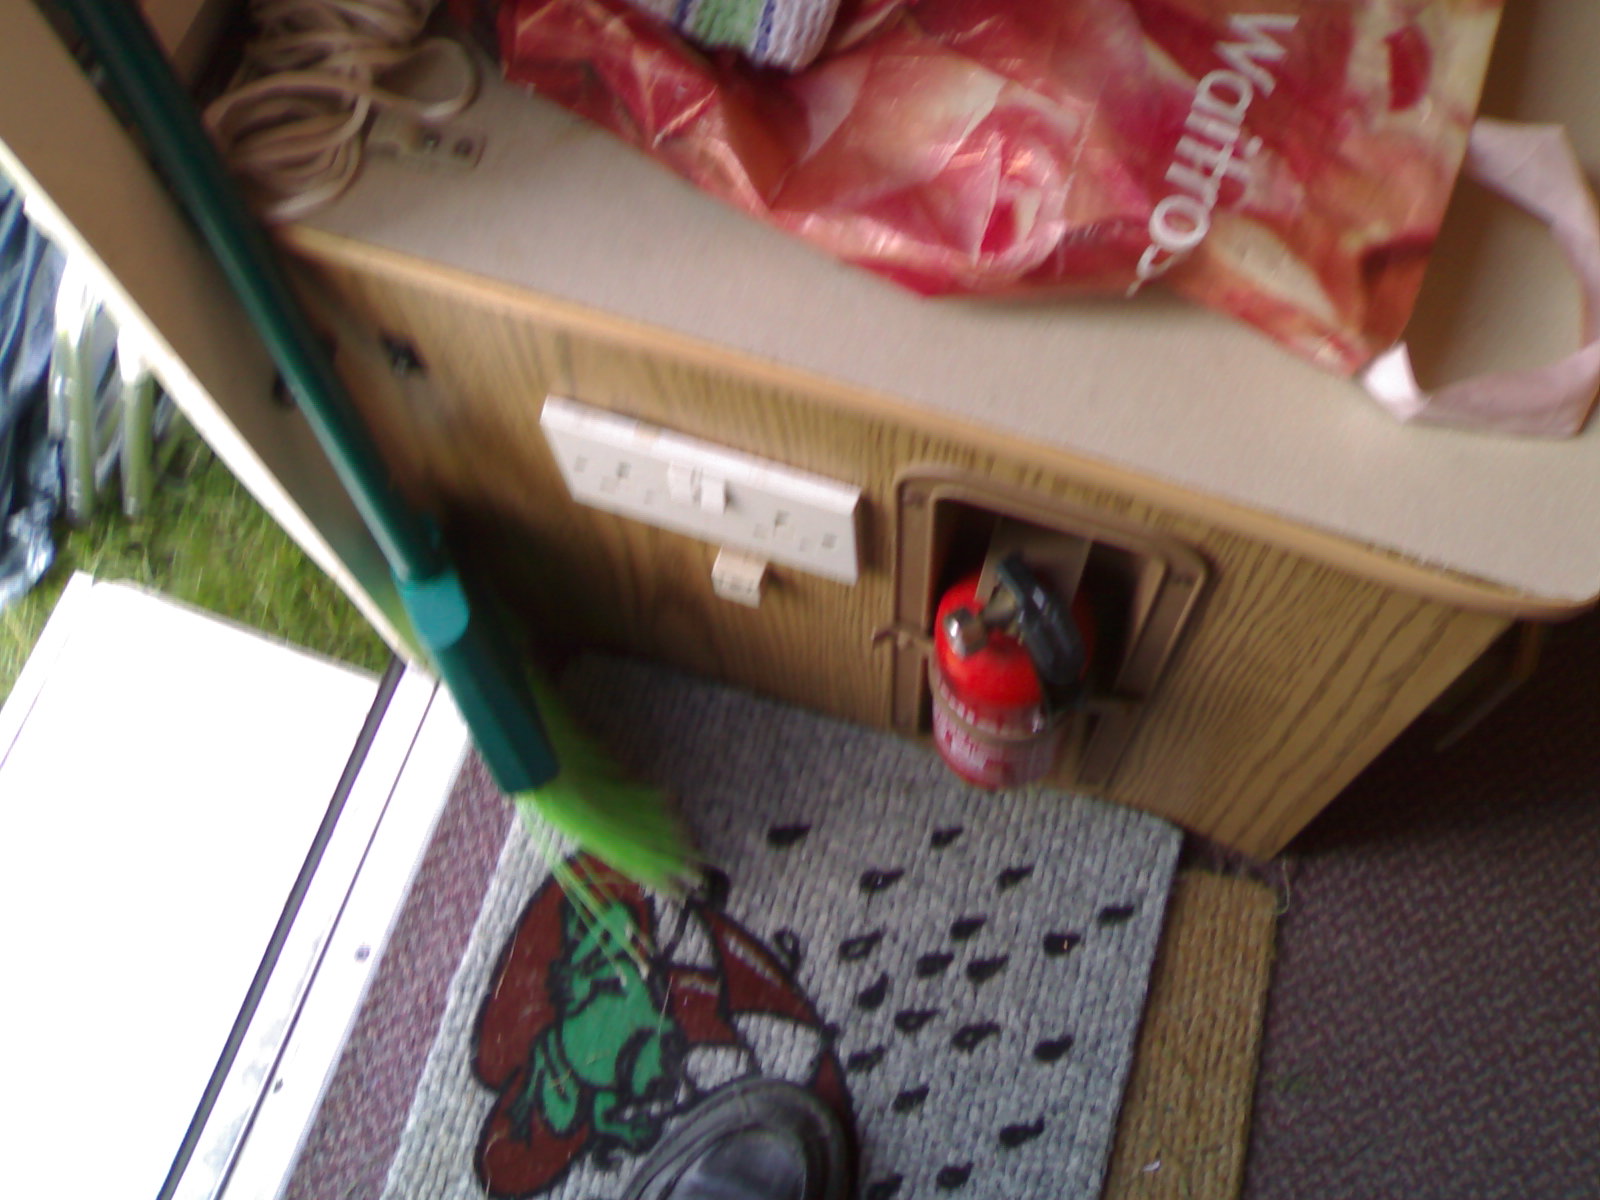
Four
further type G power points are available - two in the kitchen area
and two just inside the door. This area is also home to the fire
extinguisher and an additional 12V 10A socket - the only problem
being that it is on the fridge circuit and does nothing on site,
though a minor alteration to the battery lead would sort that.
The
strike procedure is to shut down all the appliances, turn off the
electricity and gas, try to relight the stove and allow it to go out,
then turn it off and close it. Open the water drain taps. Remove the
bath spout and fit the cap. Gather all the bits that need to be
stored, such as wiring, hoses and the empty drain tank - storage
areas include the cupboards and drawers at floor level and those on
the stove and sink units, the one below the bath, the spaces below
the seats and the space in the bath itself. The door is then
unsealed, taken out and fixed in place in the roof. Then, put the
bath top cushion on the floor between the seats and put other things
around it. Do not go too high, though. Take down the bed inner tents
and roof support poles, and then fold the table legs and put it on
the rails between the seats. The seat backs are then put on it. The
stove and sink units swing down level, coming to floor level. Small
thin items like the Aquaroll handle can go in the spaces around the
units. The curtains should be closed, and the bathroom curtain taken
down or positioned out of the way. The bed supports are then released
and the fabric around them also released, the end poles folded down
and the beds then fairly simply slide in. After that, the corner
steadies need to be raised, storing the blocks used underneath, then
the roof can be brought down, by releasing the ratchet and safety
catch and not letting it go too fast with the handle, stopping when a
small distance remains to push in any fabric which has not folded
correctly, then bringing it right down and fastening the catches.
After putting the handle away, the last loose items go in the space
just inside the door and the step is closed, and all other openable
parts secured. Drain taps are closed when no water comes from them.
When all done, it looks like this:
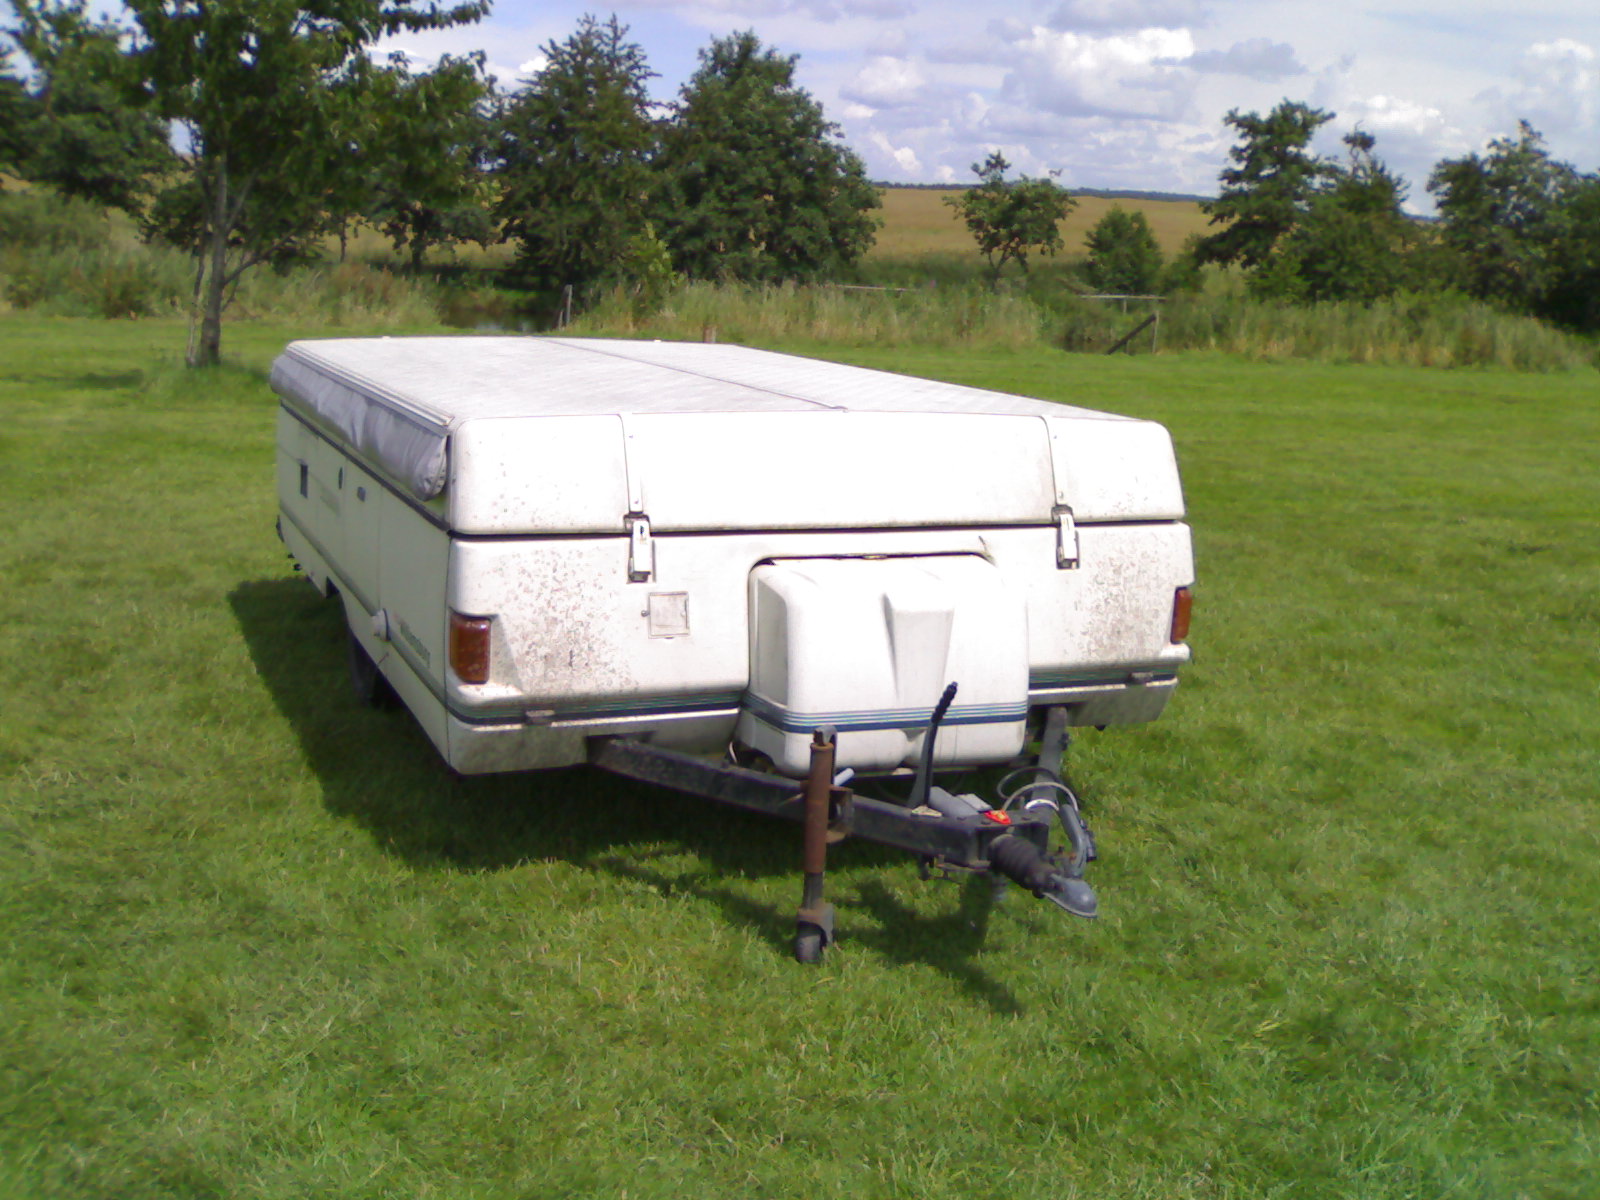
(The
grey pouch contains a sun canopy.) After that, all that remains is to
attach it to the car, secure the jockey wheel, release the brakes and
check the lights.
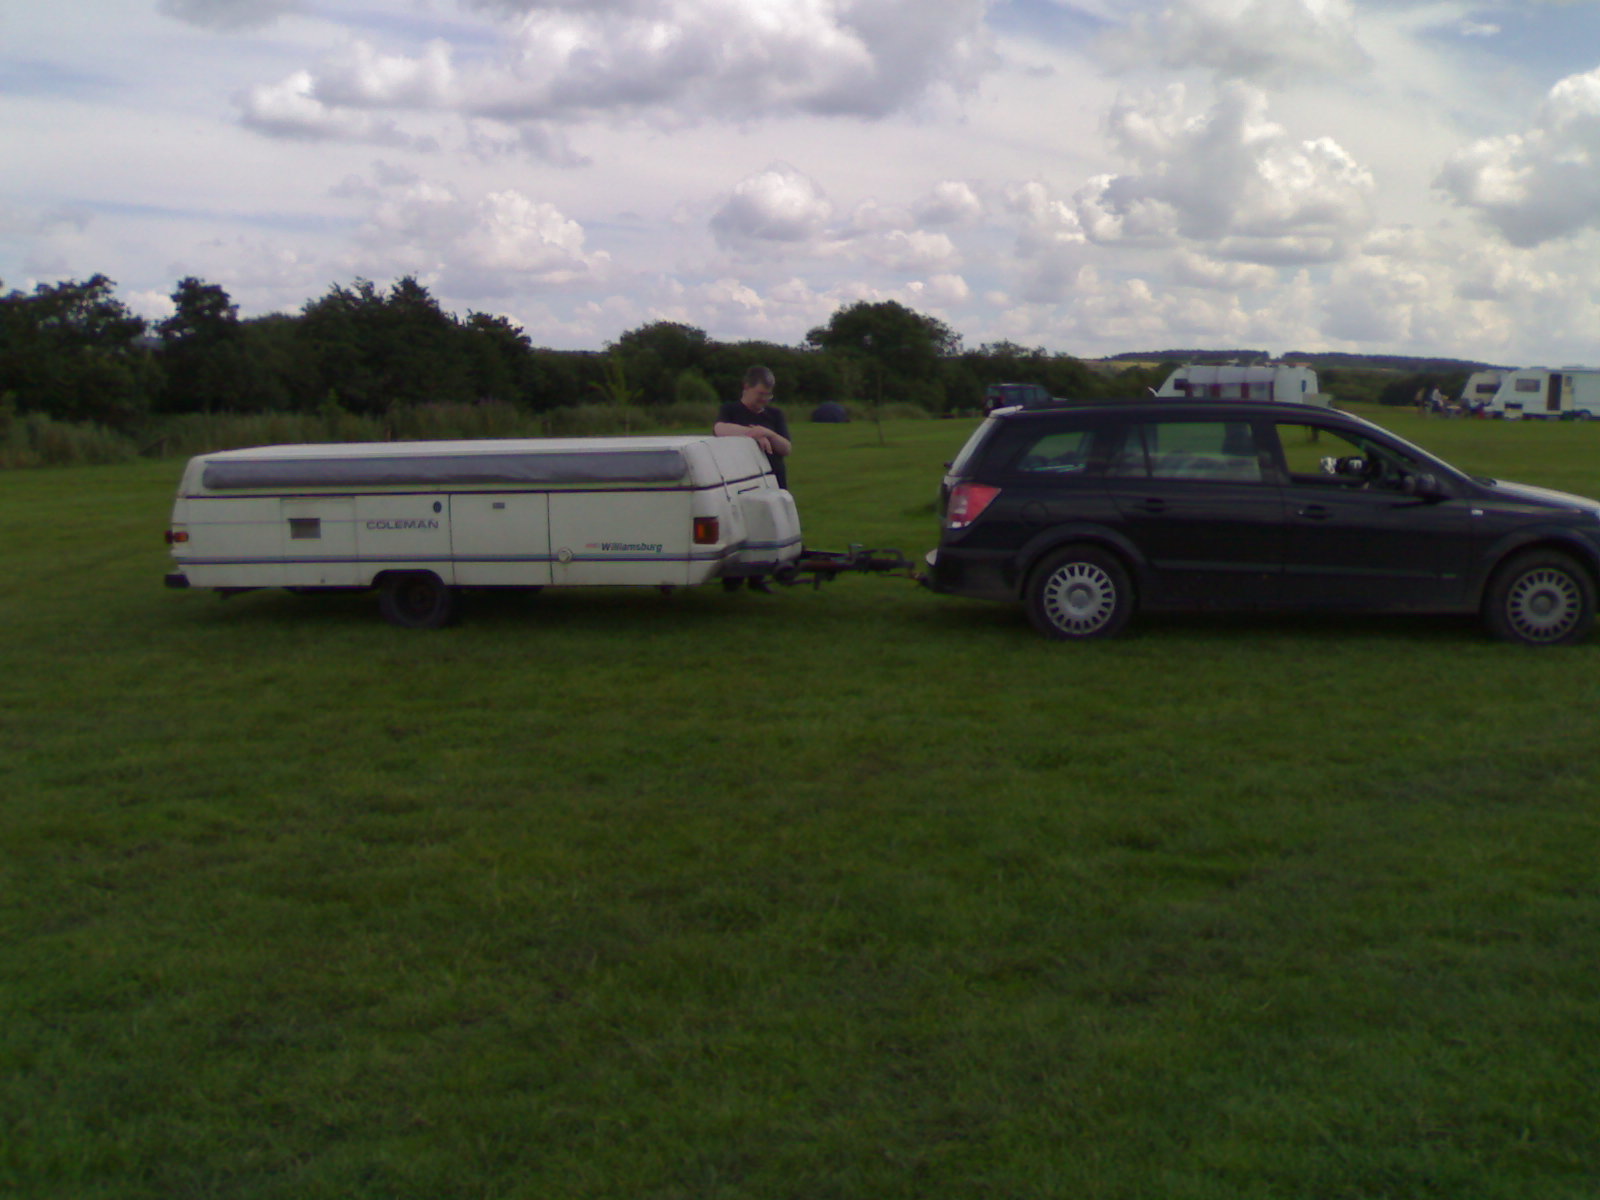
Once
all that is done, it's time to hit the road. Of course, a lot of
equipment has to go in the car, but this can be minimised if you know
you don't need some of it for a particular trip. For instance, this
trip to Pillaton Hall Farm near Penkridge did not require batteries
or a generator, and we did not take the fridge either. However, on a
low facilities site, or for a long trip, more will be needed.
Regrettably, we had to give up camping, at least of the self-pitched kind, in May 2011. We arrived at Birthday Meet (a day late due to traffic problems) and I found it very hard going to set the unit up – partly because of a strong wind, not that much could be done about that, and partly because of back pain. As I continued setting up, I also discovered a lot of damage done by mice – coupled with everything else, it was just too much. I am very pleased, though, that my sister decided to take the Williamsburg. She has cleaned it and put it right and is enjoying using it when she can.
We will be taking self-catering accommodation – ready-pitched camping included – for holidays from now on.